3D Printer Maintenance: The Complete Guide to Keeping Your Printer Running Smoothly
Regular 3D printer maintenance helps improve print quality, reduce failed prints, extend printer life, and keep your machine performing reliably. Learn the essential maintenance tasks every 3D printer owner should follow.Why 3D Printer Maintenance Matters
A 3D printer can produce excellent results when it is properly maintained. However, dust, filament residue, loose components, worn parts, and poor calibration can gradually affect print quality and reliability. Whether you use a 3D printer for prototyping, engineering projects, personalized gifts, home decor, or professional production, regular maintenance can prevent many common problems before they become expensive repairs. A good maintenance routine can help you:- Improve print quality
- Reduce failed prints
- Prevent filament feeding problems
- Maintain accurate first layers
- Reduce unusual noise and vibration
- Extend the life of mechanical components
- Keep your printer operating safely and reliably
1. Clean the Build Plate Regularly
The build plate is one of the most important parts of a 3D printer. Dirt, grease, dust, and leftover adhesive can prevent the first layer from sticking properly. After printing, remove any remaining filament or debris from the surface. Depending on your build plate material and the manufacturer's recommendations, clean it appropriately and allow it to dry before starting another print. A clean build surface helps provide consistent first-layer adhesion and reduces the chances of prints detaching during production.Maintenance Tip
Avoid touching the printing surface unnecessarily with your fingers. Oils from your skin can accumulate on the plate and affect adhesion.2. Check and Clean the Nozzle
A partially blocked nozzle can cause:- Under-extrusion
- Weak layers
- Inconsistent extrusion
- Stringing
- Missing sections of a print
- Poor surface quality
3. Inspect the Extruder and Filament Path
The extruder is responsible for pushing filament toward the hotend. Dust, filament particles, or worn components can interfere with consistent feeding. Check for:- Filament dust around the extruder gears
- Slipping or clicking during extrusion
- Excessive wear on drive gears
- Incorrect filament tension
- Obstructions in the filament path
4. Lubricate the Moving Parts
Linear rods, rails, lead screws, and other moving components may require appropriate lubrication depending on the printer's design. Over time, insufficient lubrication can increase friction and contribute to:- Noisy movement
- Rough motion
- Layer inconsistencies
- Increased component wear
Important: Not every moving component requires the same type of lubricant. Always check your printer manufacturer's instructions before applying lubricant.
5. Check Belts and Pulleys
Loose or excessively tight belts can negatively affect print quality. A belt that is too loose may contribute to movement errors and artifacts, while excessive tension can put unnecessary stress on motors and bearings. Inspect the belts for:- Excessive slack
- Visible damage
- Fraying
- Incorrect tension
- Slipping from pulleys
6. Check the Z-Axis and Lead Screws
The Z-axis controls vertical movement and has a major influence on layer positioning. Inspect the lead screws and associated components for:- Dust accumulation
- Excessive friction
- Loose mounting hardware
- Unusual noise
- Uneven movement
7. Inspect Cooling Fans
Cooling fans are essential for managing temperatures around the hotend, electronics, and printed material. Dust buildup can reduce airflow and increase the risk of overheating. Check your fans for:- Dust
- Unusual noise
- Intermittent operation
- Reduced airflow
- Obstructions
8. Keep the Printer Clean
A clean printer is easier to troubleshoot and maintain. Regularly remove:- Filament scraps
- Dust
- Plastic debris
- Support material
- Residue around the build area
9. Check Screws, Nuts, and Mechanical Connections
3D printers contain many mechanical connections that can loosen over time because of vibration and repeated movement. Periodically inspect:- Frame screws
- Motor mounts
- Belt tensioners
- Pulley screws
- Hotend mounting hardware
- Build plate mounting components
10. Calibrate Your 3D Printer
Maintenance and calibration go hand in hand. Even a mechanically clean printer may produce poor results if its calibration has changed. Depending on your printer, useful calibration checks can include:- Bed leveling
- Z-offset
- Extrusion calibration
- Flow rate
- Temperature
- Pressure advance or linear advance
- Input shaping
- First-layer calibration
11. Monitor Print Quality
Your prints can often tell you when maintenance is needed. Watch for common warning signs such as: | Print Problem | Possible Cause | | ------------------------- | ------------------------------------------------------ | | Poor first-layer adhesion | Dirty build plate or incorrect leveling | | Under-extrusion | Partial nozzle blockage or extrusion problem | | Layer shifting | Loose belts, mechanical obstruction, or movement issue | | Stringing | Material or temperature settings | | Rough Z movement | Lead screw or mechanical issue | | Excessive vibration | Loose components or unstable printer | | Inconsistent extrusion | Filament path or extruder problem | These symptoms can have multiple causes, so troubleshoot systematically rather than replacing parts immediately.12. Create a 3D Printer Maintenance Schedule
A simple maintenance schedule makes it easier to keep your printer in good condition.Before Every Print
- [ ] Check the build surface
- [ ] Inspect the filament
- [ ] Verify the nozzle is clean
- [ ] Check first-layer settings
- [ ] Make sure the print area is clear
Weekly
- [ ] Clean the printer
- [ ] Inspect belts
- [ ] Check the extruder
- [ ] Remove filament debris
- [ ] Inspect cooling fans
- [ ] Check for unusual noises
Monthly
- [ ] Inspect moving components
- [ ] Check mechanical fasteners
- [ ] Inspect lead screws and rails
- [ ] Lubricate components when required
- [ ] Review print quality and calibration
Periodically
Depending on printer usage, inspect and replace worn components such as:- Nozzles
- Belts
- Fans
- PTFE tubing, where applicable
- Build surfaces
- Extruder components
Tip: High-use printers may require more frequent inspections than machines used occasionally.
13. Don't Ignore Small Problems
One of the biggest mistakes in 3D printer maintenance is ignoring minor issues. A slightly loose belt, dirty nozzle, or unusual noise might not immediately stop a print. However, small problems can become larger mechanical or print-quality issues over time. Addressing issues early can save:- Filament
- Time
- Replacement parts
- Failed prints
- Production downtime
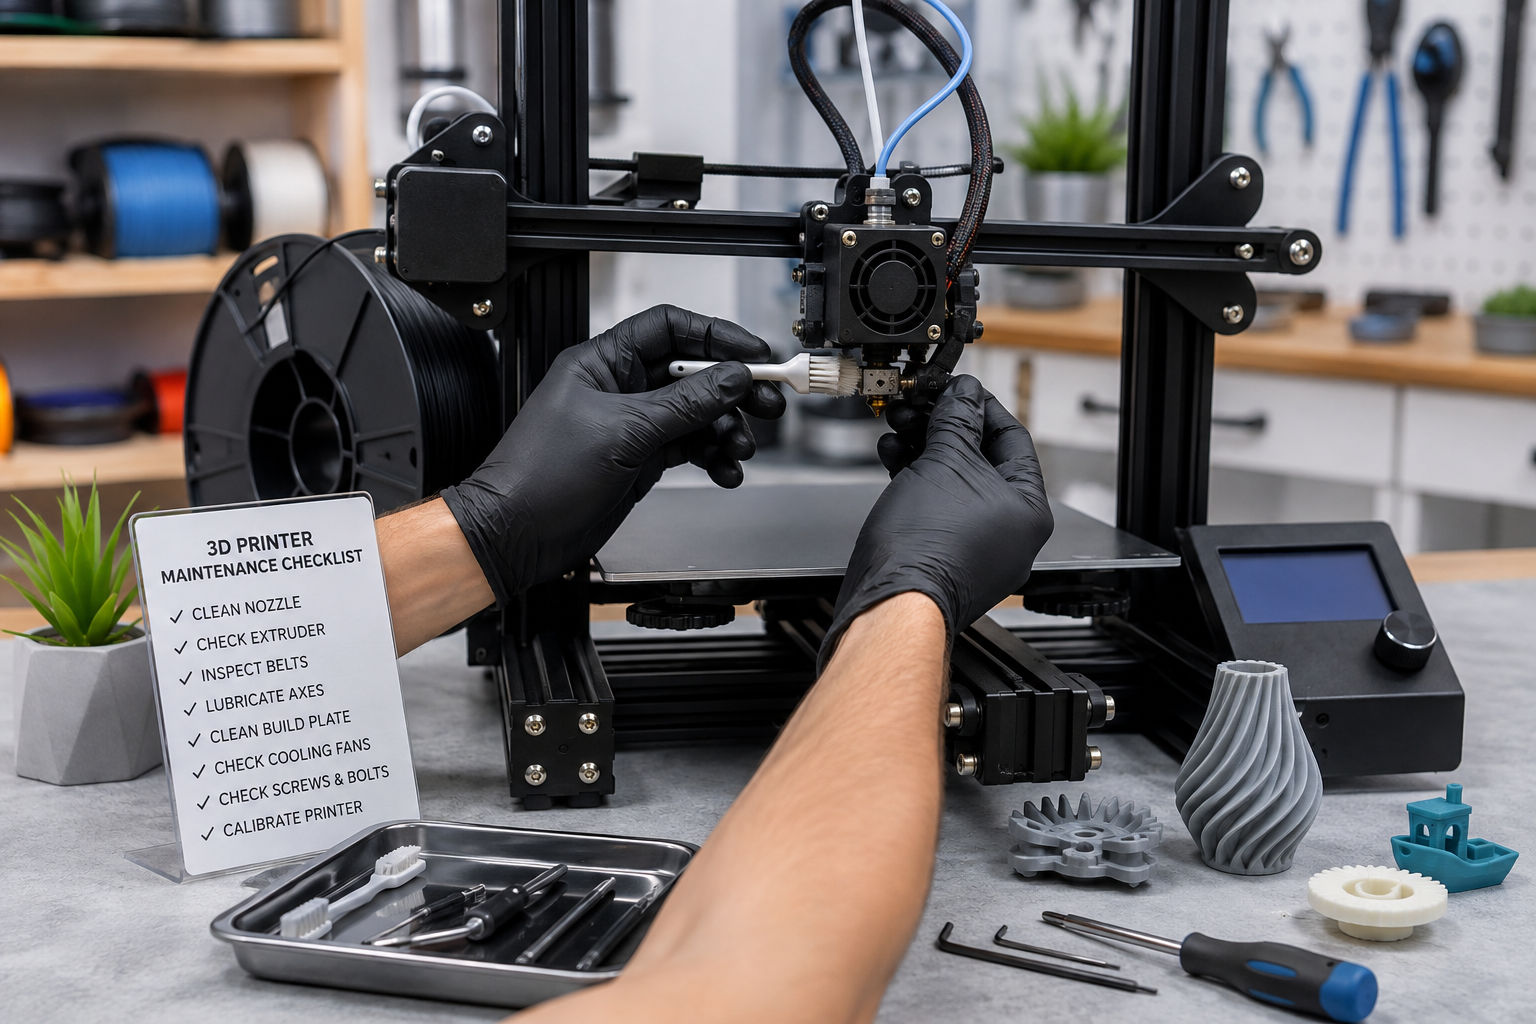
3D Printer Maintenance Checklist
Use this quick checklist to keep your printer in good condition:- [ ] Clean the build plate
- [ ] Inspect the nozzle
- [ ] Clean the extruder
- [ ] Check the filament path
- [ ] Inspect belts
- [ ] Check pulleys
- [ ] Inspect lead screws
- [ ] Check moving components
- [ ] Clean cooling fans
- [ ] Check mechanical fasteners
- [ ] Verify bed leveling
- [ ] Check Z-offset
- [ ] Monitor print quality
- [ ] Replace worn components
- [ ] Keep maintenance records